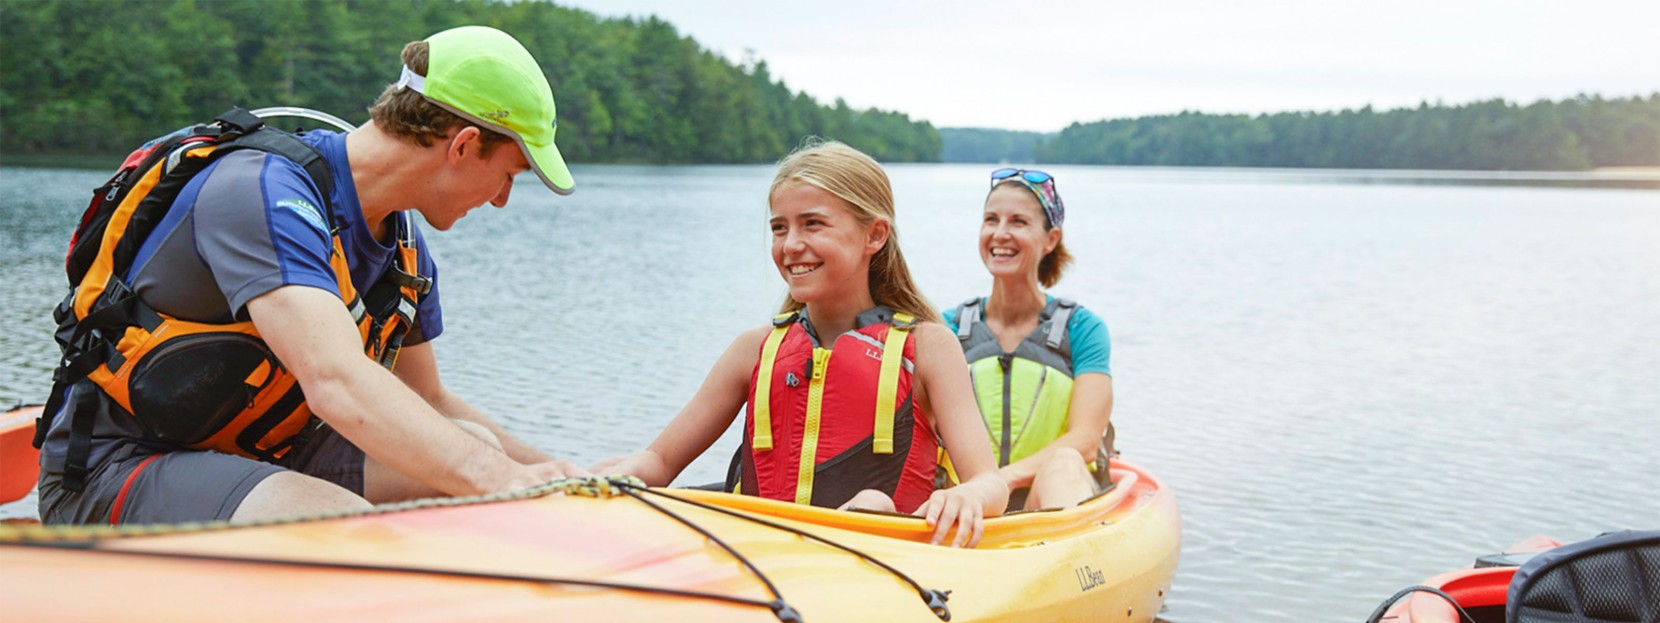
Maybe the best thing about kayaking is that it’s nearly silent, and how that silence allows you to feel like a participant in the natural landscape you’re paddling through, rather than merely an observer. Or maybe the best thing is how simple it is, and how, with just a little practice, you can travel almost effortlessly across the water. Then again, maybe it’s that kayaking is the perfect way to explore the outdoors with family and friends; it’s accessible to all ages and skill levels, and it’s sure to deliver stories and memories that will linger for years to come.
To help you make memories of your own, we’ve compiled a list of proven tips, tricks, and techniques that will deliver miles of paddling smiles. Read on, and prepare for launch.
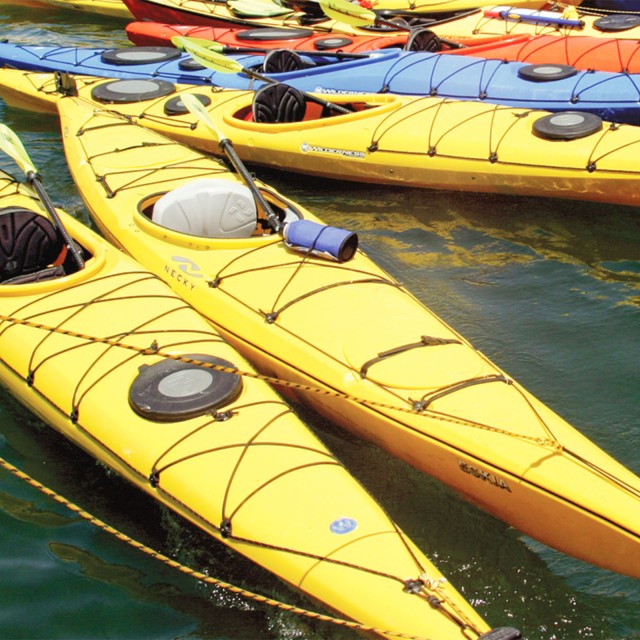
1. How to choose a boat you'll love
First-time paddlers often find the array of boat choices overwhelming, but truthfully, it’s not as confusing as it might first appear. The answer to which kayak is best for you boils down to a handful of questions, all of which are easily answered by even the most committed landlubber. For the lowdown on how to pick the kayak that’s most likely to, um, float your boat, visit our kayak buying guide.
2. How to launch without getting soaked
For many people, launching a kayak is the most awkward part of the kayaking process. But with just a bit of practice, you’ll be launching (and landing) like a pro. For this article, we’ll focus on shoreline launches, since they’re most common, and we won’t cover sit-on-top kayaks, since they’re so simple to launch.
Step #1
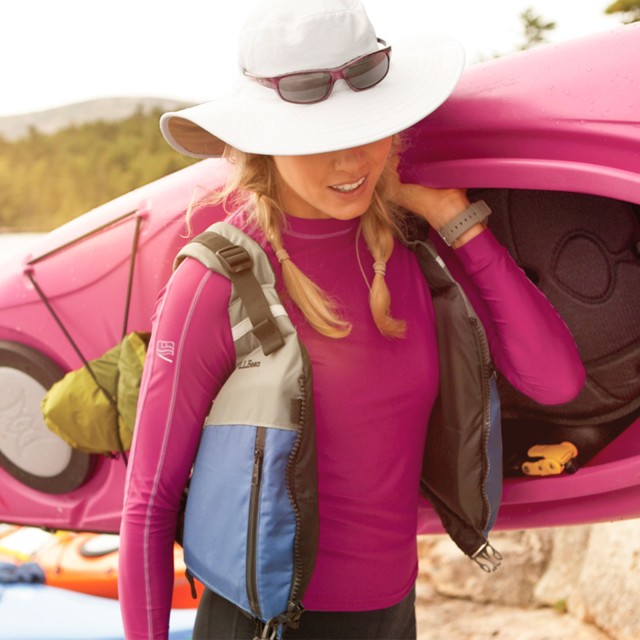
Before you do anything else, do a mental checklist of your gear; do you have everything you need, and is it safely stowed in the cargo hold? It’s also the time to double check your personal flotation device (PFD) to be sure it’s properly adjusted and comfortable.
Step #2
Set your boat fully-floating in the water, with the bow (front) pointed toward open water, and the stern (rear) just far enough off the shore to be fully afloat.
Step #3
Grab the rim of the cockpit just behind the seat, with the shaft of the paddle between your hand and the combing. Your paddle is now an outrigger – lean towards it and you will stay stable.
Step #4
Now, straddle the kayak directly over the cockpit. Sit on the deck behind the seat – you might even want to sit on your hand. Put one foot in the cockpit, then the other, and slowly lower yourself into the seat.
It may not be the most graceful moment of your life, but don’t worry: It’s the same for everyone. Settle in, make any necessary adjustments, attach your spray skirt, and start paddling.
How to Land
Landing is essentially a reverse of this process – stop just short of shoreline contact so you’re still fully-floating; lift yourself onto the deck of the kayak; then plant both feet on the ground. Never stand up with one foot in the boat and one foot out – the kayak might shoot out from under your foot like a banana peel!
3. How to paddle in the right direction
A kayak paddle is an amazing piece of equipment; with proper technique, there’s no more efficient way to propel yourself across water.
To begin, check to be sure that your paddle blades are parallel to one another; if they’re not, look for the push button at the center of the shaft, depress it, and rotate the shaft until the blades are parallel.

QUICK TIP:
Make sure you’re holding your paddle properly by holding it straight out in front of you, then lifting it and placing the center of the shaft on the top of your head. Slide your hands out so that your arms are at right angles, then bring the paddle down in front of you.
Forward Stroke
The three key points to a proper forward stroke are angle, length and rotation. The shaft should be at a 45° angle to the water; the length of your stroke should dip in the water near your toes and come out near your hip; and you should move the paddle by rotating your torso, not pulling your arms back.
Sweep Stroke
To turn, use a sweep stroke – this is similar to a forward stroke, but much longer, with the paddle arcing out from the boat and going all the way back to the stern. The farther the paddle is from the boat, the more turn you’ll get – all without tiring your arms out.
4. How to recover from a flip with ease
If the idea of flipping over in a kayak makes you a little anxious, we get it. You’re not alone, we promise. Fortunately, it’s very easy to make a “wet exit” from an overturned boat.
A successful wet exit begins on shore
Ensure that the grab loop at the front of your skirt is exposed and in easy reach. You can even practice the motion of tucking forward, grabbing the rip cord, and pulling your skirt free, which is what will allow you to effortlessly slide out of your kayak like a slippery fish.
If (ok, when) you flip in the water, try to hang onto your paddle with one hand, but if that doesn’t happen, don’t worry: Your paddle will float to the surface and patiently wait for you to come up and grab it.
The trick to underwater exits
An easy recovery takes just three steps: Tuck, Pull and Push.
First, tuck your weight forward, leaning towards the deck. This ensures that the top of your thighs don’t contact the top of the boat, and you’ll slide out of the cockpit easily.
Next, pull the grab loop, releasing the skirt from the combing. Run your hands backwards along the combing so they’re on either side of your hips for the final step:
Push the boat off, like you would a pair of pants. You’ll slide right out, and your PFD will float you up to the surface.
That’s it! The entire process is even simpler than it sounds and is likely to take only a few seconds.
5. How to load a kayak (and look strong doing it)
Unless you live on the shore of a lake or river (and if so, can we move in?), you’ll need to transport your kayak. If you don’t have a pickup truck, this means hoisting your boat onto the roof rack of your car, which sounds far more daunting than it actually is, especially if you read the following tips.
Step #1
Lay the kayak on the ground, parallel to your car. Tip your kayak on its side, cockpit facing out, the upper edge of the boat resting against your shins.
Step #2
Bending at the knees, place one hand at the front of the cockpit’s top edge, and the other toward the rear.
Step #3
Slide the kayak up your legs until the bottom edge is resting on the tops of your legs. Your knees should still be bent.
Step #4
In one smooth motion, straighten your legs and lift the kayak onto your rack. If you start to struggle, let it drop! Your boat is tougher than you think; it’ll be fine (your toes will recover, too!).
QUICK TIP:
Rear-loading is another super-easy way to get your kayak on your car. Simply place a towel or piece of carpet over the back end of your car roof, rest just the bow of the boat on it, then hold on tight and push the kayak forward from behind.